

.svg)
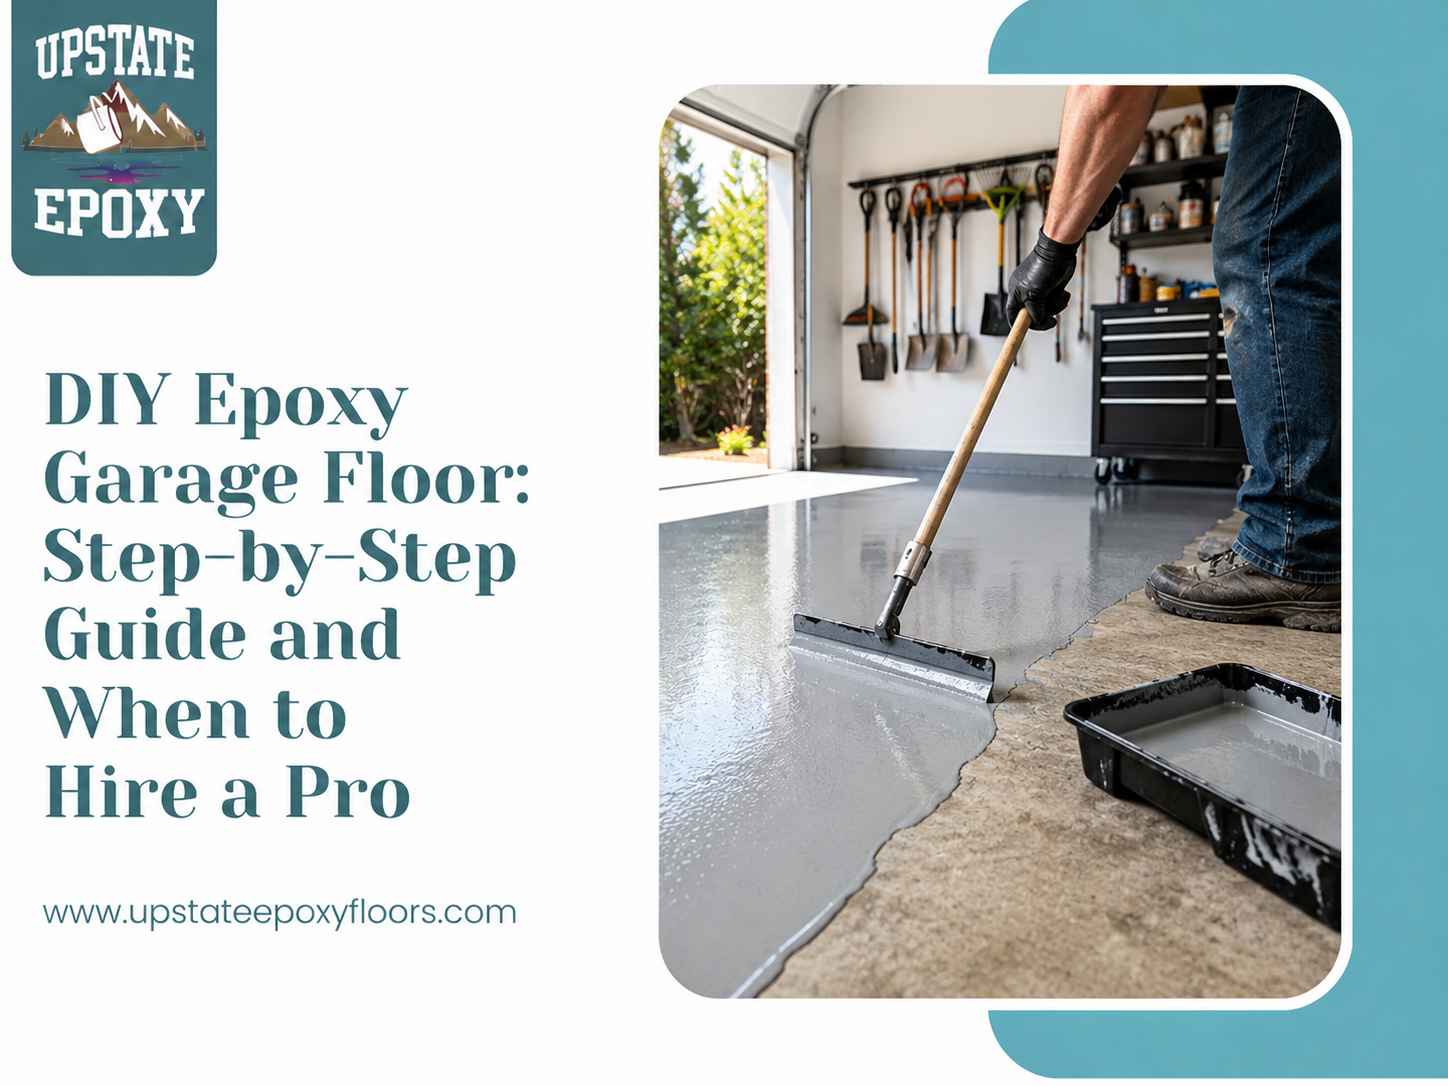
Thinking about tackling a diy epoxy garage floor this season? It's one of the more satisfying weekend projects a homeowner can take on but it's also easy to get wrong if you skip the details that decide whether the coating actually lasts. This guide walks you through how to epoxy a garage floor from start to finish: the prep that makes or breaks the job, the tools you'll need, the steps in order, and the mistakes that cause most do-it-yourself floors to peel. You'll also learn how New York's climate affects your timing and results, and how to tell when the project is better left to a professional. By the end, you'll know exactly what a do-it-yourself epoxy garage floor involves and whether it's the right call for yours.
Epoxy is a two-part coating a resin and a hardener that you mix together and spread over prepared concrete, where it cures into a hard, bonded surface. It's not the same as floor paint that simply dries on top. Because of that chemical bond, the success of the whole project rides on one thing more than any other: preparation.
It also helps to know what you're buying. Most DIY garage floor coating kits sold at home centers are water-based and relatively thin, designed to be forgiving to apply. Higher-solids kits exist too, but even those are generally lighter-duty than the professional systems installers use. That's not a knock on DIY it just sets realistic expectations. Plan for at least a full weekend: prep on day one, coating on day two, and several days of curing before you use the garage again.
Before you start, gather everything so you're not running to the store mid-project with wet epoxy in the pan:
• A degreaser and a stiff scrub brush or floor scrubber
• Concrete etching solution or, better, a rented floor grinder
• Crack filler and concrete patch for repairs
• Your epoxy kit: base coat, optional decorative flakes, and a clear topcoat
• A squeegee, 3/8-inch nap rollers, and an extension pole
• A drill with a mixing paddle to blend the two parts
• Painter's tape, spiked shoes, gloves, and eye protection
• A wet vacuum or hose to rinse and clear the slab
Here's the full sequence. Follow the order carefully skipping or rushing a step is the most common reason a coating fails early.
Move everything out, then sweep and scrub the slab with a degreaser to lift oil, grease, and dirt. Any contamination left behind will keep the epoxy from bonding, so this is not the place to cut corners. Rinse thoroughly and let the surface dry.
Concrete can pass water vapor up from below, and that moisture will push a coating right off the floor. Tape a couple of plastic sheets tightly to the slab and leave them overnight. If condensation forms underneath, you have a moisture issue that needs to be resolved before coating this alone stops many DIY floors from succeeding.
Fill cracks and chips with a concrete patch or crack filler and let them cure fully. A smooth, sound surface gives the coating something consistent to grip and prevents flaws from telegraphing through the finish.
Epoxy needs a slightly rough surface a "profile" to lock onto. Most DIY kits include an acid etch for this. Etching can work on bare, porous concrete, but it's less reliable on smooth, dense, or previously sealed slabs. Mechanically grinding the floor with a rented grinder gives a far more dependable profile and is the single biggest upgrade you can make to a DIY job.
After etching or grinding and rinsing, the concrete must be bone dry before you coat it. Depending on humidity and airflow, this can take a full day or more. Coating damp concrete is a recipe for peeling.
Blend the resin and hardener at the exact ratio and for the full time the manufacturer specifies. Once mixed, epoxy has a limited "pot life" before it starts to harden in the bucket, so only mix what you can apply in that window and get moving promptly.
Use a brush to cut in along the walls and corners, then roll the base coat across the floor in manageable sections, keeping a wet edge so the passes blend. Work from the back of the garage toward the door so you don't paint yourself into a corner. Spiked shoes let you step onto freshly coated areas if needed.
If your kit includes flakes, toss them onto the wet base coat while it's still tacky. Beyond looks, flakes add texture that improves traction a genuine benefit in a garage where wet, snowy tires are common.
Once the base coat has set per the instructions, apply the clear topcoat. This layer is what gives the floor its gloss, seals in the flakes, and provides much of the abrasion and stain resistance. Don't skip it a topcoat is a big part of what makes the finished floor durable.
Let the floor cure undisturbed. As a general guide, many coatings are ready for foot traffic within about a day and vehicle traffic after several days, with full cure taking up to a week always follow your product's timeline. Bringing a car back too early is a common way to ruin an otherwise good job.
Most failed do-it-yourself garage floor coatings trace back to a short list of avoidable errors:
• Rushing or skipping prep the number one cause of peeling
• Relying on acid etch alone on smooth or sealed concrete
• Coating over a slab with an unresolved moisture problem
• Mixing the wrong ratio or ignoring the epoxy's pot life
• Applying in temperatures or humidity outside the product's range
• Skipping the clear topcoat to save time or money
• Walking or parking on the floor before it has fully cured
Timing matters more here than in milder regions. Epoxy needs the slab and the air to stay within the manufacturer's temperature range while it cures, and an unheated New York garage in winter is often too cold for the coating to set properly. Cold, damp conditions can leave you with a soft or cloudy finish that never hardens the way it should.
Moisture is the other challenge. Melting snow, slush, and wet vehicles keep garage slabs damp, and freeze-and-thaw cycles are hard on concrete. Because of that, a dry, mild stretch from late spring through early fall is usually the best window for a DIY project. It's also why thorough prep and a quality topcoat pay off they're what stand between road salt and your concrete once winter returns.
A careful homeowner can get good results on the right slab, but some situations call for a professional. Pros grind the concrete mechanically, test and manage moisture, repair damage correctly, and apply higher-solids or fast-curing systems that outlast most kits. Consider hiring out the work if:
• Your slab has moisture problems, large cracks, or surface spalling
• You want maximum durability and a longer-lasting finish
• You're working on a tight timeline or during the cold season
• You'd rather not manage grinding, pot life, and cure conditions yourself
If any of those apply, it's worth getting a quote before you commit a weekend to it. You can explore professional garage and residential epoxy flooring services to see how a professionally installed system compares to a DIY approach for your space.
Can I really epoxy my garage floor myself?
Yes with the right prep, a suitable slab, and realistic expectations, many homeowners complete a solid DIY epoxy floor. The results depend far more on surface preparation than on how well you roll the coating.
How long does a DIY epoxy garage floor last?
It varies widely with prep quality, the product used, and how the garage is treated. Well-prepped kits can last several years, though they generally won't match the lifespan of a professionally installed high-solids system.
Do I have to grind, or can I just acid etch?
Etching can work on bare, porous concrete, but it's unreliable on smooth or sealed slabs. Mechanical grinding creates a more consistent profile and is the most effective way to help the coating bond.
How long before I can park on a new epoxy floor?
As a general rule, expect to wait several days for vehicle traffic and up to a week for a full cure. Always follow the specific timeline on your product, and don't rush it early traffic is a common cause of damage.
What temperature do I need to apply epoxy?
Most epoxies require the concrete and air to stay comfortably above freezing and within a defined range during application and curing. A cold, unheated garage in a New York winter is often too cold for reliable results.
A diy epoxy garage floor is an achievable project when you respect the prep, work within your product's limits, and pick the right time of year to do it. Test for moisture, profile the concrete properly, mix carefully, and give the floor time to cure, and you'll get a finish you can be proud of. If your slab has issues, you want the longest-lasting result, or you'd simply rather not spend the weekend on it, professional installation is a smart alternative. Homeowners in the Upstate Epoxy Floors service area are welcome to explore our residential epoxy flooring options if you'd like expert help getting it done right the first time.