

.svg)
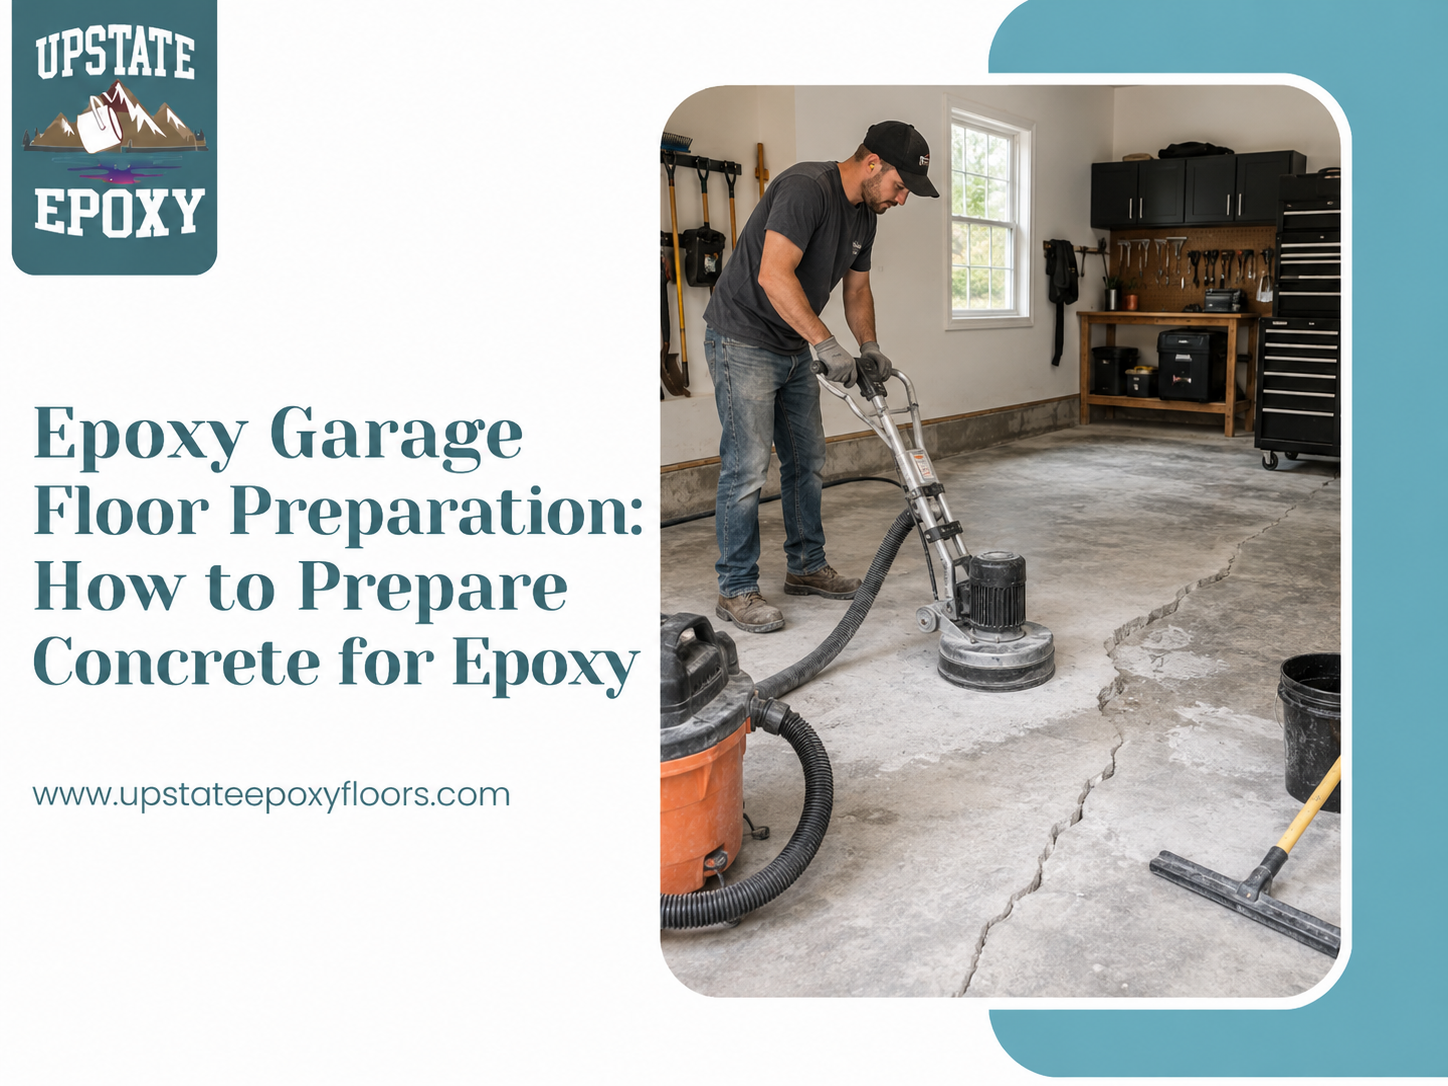
If you're planning to coat your garage floor, epoxy garage floor preparation is the step that determines whether that coating lasts for years or starts peeling within months. Epoxy doesn't fail because the product is bad as often as it fails because the concrete underneath wasn't properly prepared. This article explains exactly what goes into preparing a garage floor for epoxy, including cleaning, repairing damage, profiling the concrete, and testing for moisture, along with common mistakes that lead to early coating failure. By the end, you'll understand what real preparation involves and why it matters as much as the epoxy itself.
It's tempting to think of epoxy as the product that does the work, but epoxy is only as good as the surface it's bonded to. Concrete is porous, but it also collects oil, dust, sealers, and old coatings over time that block that porosity. If epoxy is applied over a surface that hasn't been properly prepared, it may look fine for a few weeks or months, then start bubbling, peeling, or delaminating in sections.
Garage floor prep for epoxy isn't just about cleaning. It's about creating a surface profile, essentially a microscopic level of roughness, that allows the epoxy to mechanically key into the concrete rather than just sitting on top of it. Without that profile, even a high-quality epoxy product doesn't have much to hold onto.
Before any prep work begins, the garage needs to be completely cleared, including shelving, storage, and anything else touching the floor. This gives a full, unobstructed view of the concrete's condition.
At this stage, it's worth identifying:
This assessment shapes the rest of the epoxy garage floor preparation process, since a floor with heavy staining or damage needs more extensive work than one that's simply dusty or lightly worn.
Any cracks, pits, or damaged areas need to be repaired before epoxy goes down, not after. Coating over unrepaired damage doesn't hide the problem. It usually highlights it, since the epoxy will settle into low spots and the crack will often become visible again as the concrete continues to move slightly over time.
This is where products like Rustoleum concrete patch filler and repair come in for many DIY projects. These consumer-grade patching compounds are designed to fill small cracks and minor surface imperfections before an epoxy coating is applied. They can work reasonably well for minor cosmetic cracks in a DIY setting, but they have limitations. Larger structural cracks, active movement in the slab, or extensive pitting typically require professional-grade repair materials and techniques that go beyond what a retail patch product is designed to handle.
It's also worth noting that patch and repair products need adequate cure time before the next preparation step, since applying epoxy over a patch that hasn't fully cured can lead to adhesion problems in that specific area.
Once cracks and damage are addressed, the floor needs a thorough cleaning to remove oil, grease, dirt, and any residue left over from repair work. Garages accumulate oil stains from parked vehicles over time, and even stains that aren't visible can leave behind a thin film that interferes with epoxy adhesion.
Degreasing typically involves a dedicated concrete degreaser rather than general household cleaners, followed by a thorough rinse. Skipping this step, or rushing through it, is a common reason coatings fail specifically in the areas where a vehicle used to park.
This is the step that separates a properly prepared garage floor from one that's only been cleaned. Profiling refers to mechanically roughening the surface of the concrete so epoxy has something to physically bond into, rather than resting on a smooth, sealed surface.
There are a few common methods:
Professional epoxy garage floor preparation typically relies on diamond grinding or shot blasting because they create a more consistent, reliable profile than chemical etching. This is one of the biggest differences between a DIY epoxy kit and a professionally installed system: the equipment used to prepare the surface has a direct impact on how long the coating lasts.
Concrete slabs can allow moisture to migrate upward from the ground below, even when the surface looks and feels completely dry. If epoxy is applied over a slab with excess moisture, that moisture has nowhere to go and can cause the coating to bubble, cloud, or delaminate from underneath.
Moisture testing is a step that's often skipped in DIY garage floor prep for epoxy, largely because it requires specific tools and isn't always something homeowners think to check. Professional preparation typically includes moisture testing as a standard step, and if elevated moisture is found, additional vapor mitigation measures may be needed before coating.
This step is particularly relevant for New York garages, where freeze and thaw cycles, snowmelt, and general ground moisture can affect slab conditions more than in drier climates.
After grinding or blasting, the floor is left with fine concrete dust that needs to be fully removed before epoxy is applied. Industrial vacuums are typically used for this step rather than sweeping, since sweeping alone tends to leave fine dust particles behind that can interfere with adhesion. Once the surface is clean and dust-free, the floor is ready for the epoxy application itself.
Most epoxy garage floor coatings that fail early can be traced back to one or more of these preparation issues rather than a problem with the epoxy product itself.
DIY prep, using products like concrete patch fillers and acid etching solutions, can be a reasonable approach for a homeowner applying a basic DIY epoxy kit to a lightly used garage. It's more affordable and accessible, but it also has real limitations, particularly when it comes to achieving a consistent surface profile and identifying moisture issues that aren't visible to the eye.
Professional epoxy garage floor preparation typically involves mechanical grinding or shot blasting equipment, moisture testing tools, and the experience to correctly assess what a specific slab needs before coating begins. For garages with significant damage, staining, or heavy daily use, this level of preparation generally leads to a longer-lasting result than DIY methods alone can achieve.
If you're unsure whether your garage floor's condition calls for DIY prep or a professional approach, Upstate Epoxy Floors' garage epoxy flooring services page outlines what a professional preparation and installation process typically includes.
Garages in New York deal with more seasonal stress than floors in milder climates. Road salt tracked in during winter months can leave residue that needs to be fully cleaned before coating. Freeze and thaw cycles can affect existing cracks, sometimes making them wider than they initially appear. Wet vehicles sitting in the garage for extended periods also add moisture exposure that makes proper moisture testing especially important before applying any coating.
These regional factors are part of why thorough epoxy garage floor preparation matters even more here than in areas with more stable, dry climates.
Do I need to grind my garage floor before epoxy, or is cleaning enough? Cleaning alone typically isn't enough for a durable result. Mechanical profiling, through grinding or shot blasting, creates the surface texture epoxy needs to properly bond, which cleaning by itself doesn't achieve.
Can I use Rustoleum concrete patch filler and repair before an epoxy garage floor? Yes, for minor cracks and small surface imperfections, patch fillers like this can work in a DIY setting. Larger structural cracks or extensive damage typically need more substantial repair methods.
How long should I wait after patching cracks before applying epoxy? Patch materials need adequate time to fully cure before further preparation steps or coating application. Applying epoxy too soon over uncured patch material can lead to adhesion problems.
Is acid etching a good substitute for grinding? Acid etching can create a light surface profile, but it's generally less consistent than mechanical grinding or shot blasting, especially on garage floors with heavy use or existing coatings.
Why does my garage floor need moisture testing before epoxy? Excess moisture trapped beneath a coating can cause bubbling, clouding, or delamination. Testing beforehand helps determine if additional steps are needed before the epoxy is applied.
Can I skip preparation if I'm using a DIY epoxy kit? No. Preparation matters regardless of whether you're using a DIY kit or a professional-grade system. Skipping it is one of the most common reasons DIY epoxy projects fail early.
Proper epoxy garage floor preparation is the foundation of a coating that actually lasts, and it involves far more than a quick cleaning. Repairing damage, profiling the concrete, testing for moisture, and removing all dust before application each play a role in how well the epoxy performs over time. If you're planning a garage floor project and want to make sure the preparation is done right the first time, reaching out to Upstate Epoxy Floors for a professional assessment is a straightforward way to get started if you're in their New York service area.