

.svg)
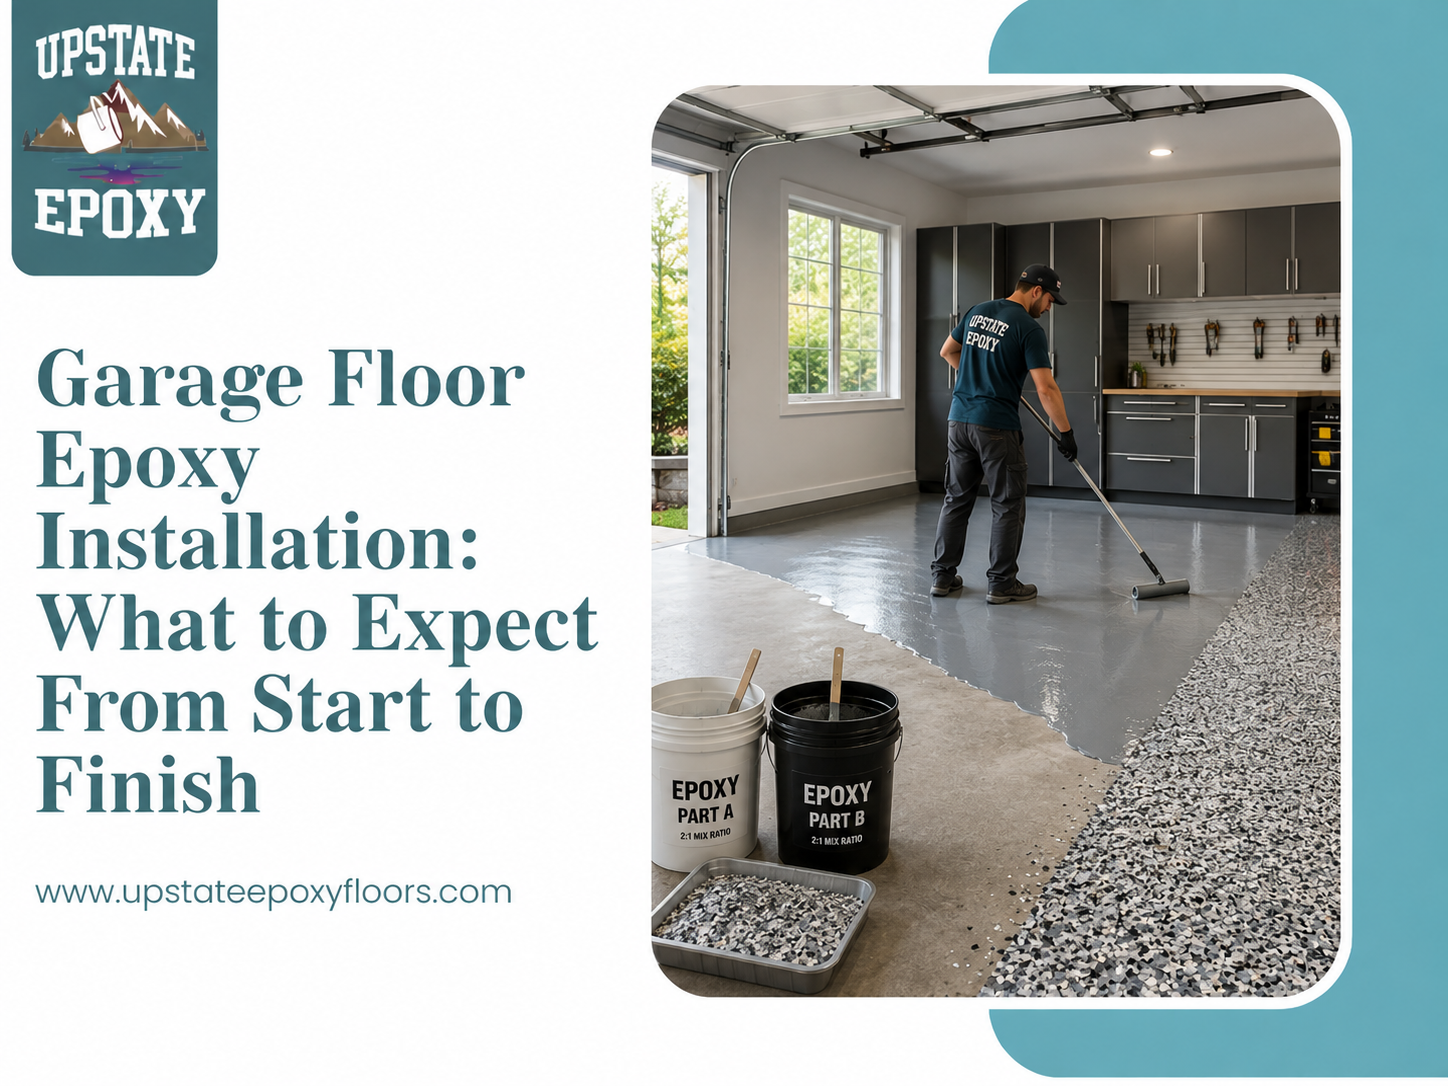
If you're considering a garage floor epoxy installation, it helps to know exactly what the process involves before you commit to a project or a timeline. Epoxy installation isn't a single step where a coating gets rolled onto concrete. It's a sequence of preparation, repair, and application stages that all affect how the finished floor looks and performs. This article walks through what typically happens during professional garage floor epoxy installation, from the initial assessment through curing, along with what separates a quality installation from one that fails early. By the end, you'll know what to expect and what questions to ask before scheduling a project.
Garage floor epoxy installation refers to the full process of preparing concrete and applying an epoxy coating system, not just the application of the product itself. A proper installation includes assessing the slab, repairing damage, mechanically preparing the surface, applying multiple coating layers, and allowing adequate cure time before the floor is put back into use.
This is different from simply painting a floor. Epoxy is a two-part system, a resin and a hardener that chemically cure together, and the process depends heavily on how well the concrete was prepared beforehand. Understanding the full installation process helps set realistic expectations for timeline, disruption, and what determines a long-lasting result.
Every professional garage floor epoxy installation should start with an assessment of the existing concrete. This includes checking for cracks, staining, pitting, moisture issues, and any previous coatings that may need to be removed. The condition of the slab at this stage determines how much preparation work is needed before installation can move forward.
This step also typically includes a conversation about what the homeowner wants from the finished floor, whether that's a solid color, a flake system, or something more decorative, since design choices can influence the installation process slightly.
Before any work begins, the garage needs to be fully cleared. Vehicles, storage items, shelving units, and anything else touching the floor need to be moved out. Depending on the scope of the project, adjacent areas like walls or garage door tracks may also need to be protected from dust generated during surface preparation.
This is arguably the most important stage of any garage floor coating installation, and it's the step that has the biggest impact on how long the epoxy lasts. Preparation typically involves mechanically profiling the concrete, most often through diamond grinding or shot blasting, to remove old coatings, contaminants, and the smooth surface layer that would otherwise prevent proper bonding.
During this stage, cracks are also repaired, pitted areas are patched, and the slab is checked for moisture. If elevated moisture is detected, additional steps may be needed before coating can proceed. Skipping or rushing this stage is one of the most common reasons epoxy coatings fail prematurely, regardless of how good the epoxy product itself is.
After grinding or blasting, the floor is covered in fine concrete dust that needs to be thoroughly removed, typically with industrial vacuum equipment rather than sweeping. Any dust left behind can interfere with how well the epoxy bonds to the surface, so this step, while quick, isn't one that should be skipped.
Depending on the specific epoxy system being used, a primer or base coat may be applied first to help the coating bond more effectively to the prepared concrete. This layer also helps even out the surface and creates a consistent foundation for the coats that follow.
For decorative garage floor epoxy installation, this is where the visual character of the floor comes together. Colored flakes or aggregate are broadcast into the base coat while it's still workable, which not only affects the appearance but also adds texture that can improve slip resistance. Homeowners typically have a range of colors and blend options to choose from at this stage, depending on the desired look.
Once the base coat and any decorative elements have cured sufficiently, a clear protective topcoat is applied. This layer is what gives the floor its durability, chemical resistance, and finished sheen. The topcoat is a critical part of professional garage floor epoxy installation, since it protects the layers underneath from UV exposure, abrasion, and everyday wear.
After the final coat is applied, the epoxy needs time to cure before the garage can be used normally again. Cure times vary depending on the specific product, temperature, and humidity conditions, so it's best to follow the guidance provided for your specific installation rather than assuming a fixed timeline. Walking on the floor too soon, or driving on it before it's fully cured, can affect the final durability of the coating.
Timelines vary depending on the size of the garage, the extent of repair work needed, and the specific coating system chosen. A straightforward installation on a well-maintained slab will generally move faster than one that requires extensive crack repair or removal of an old, failing coating. Because curing time between steps affects the overall schedule, it's worth discussing a realistic timeline with your installer before the project begins rather than assuming it will match a smaller DIY project.
Several factors affect the cost of a garage floor epoxy installation: the size of the space, the condition of the existing concrete, the extent of any necessary repairs, and the specific coating system and design chosen. A floor that needs significant crack repair or old coating removal will generally cost more to prepare than one that's already in relatively good shape.
Rather than focusing purely on the lowest upfront price, it helps to think about installation quality and long-term durability together. A properly installed epoxy floor, prepared correctly and applied by an experienced team, typically holds up far longer than a rushed installation that skips key preparation steps. For homeowners weighing their options, Upstate Epoxy Floors' garage epoxy flooring services page outlines the factors that go into an estimate for a specific project.
DIY epoxy kits are widely available and can be a reasonable option for homeowners on a tight budget who are willing to accept a shorter lifespan and more limited durability. These kits are formulated to be applied without specialized equipment, but they also rely on preparation methods, like acid etching, that generally create a less consistent surface profile than professional mechanical grinding.
Professional garage floor epoxy installation typically includes:
For a garage used daily, storing vehicles year-round, or exposed to New York winters, professional installation generally delivers a more durable, longer-lasting result than a DIY kit.
Concrete garage floor installation in New York needs to account for regional conditions that aren't as much of a factor in milder climates. Cold winters, road salt, and repeated freeze and thaw cycles put extra stress on both the concrete and the coating applied to it. Wet vehicles parked in the garage for extended periods add ongoing moisture exposure, which makes proper moisture testing during installation especially important. A well-installed epoxy system, prepared and applied correctly, is generally better equipped to handle these seasonal stresses than a coating installed without accounting for them.
How long does it take for epoxy to cure after installation? Cure times depend on the specific product used along with temperature and humidity conditions, so it's best to follow the guidance given for your particular installation rather than a general timeline.
Can I park my car in the garage right after epoxy installation? No. The floor needs adequate cure time before it can handle vehicle weight without affecting the coating's durability. Your installer can confirm when it's safe to resume normal use.
Is professional garage floor epoxy installation worth it over a DIY kit? For garages with heavy use, existing damage, or exposure to harsh winter conditions, professional installation generally offers better long-term durability due to more thorough surface preparation and higher-grade materials.
Do I need to remove everything from my garage before installation? Yes. The space needs to be fully cleared so the floor can be properly prepared and coated without obstruction.
What causes epoxy installations to fail early? Most early failures trace back to inadequate surface preparation, skipped crack repair, or coating over excess moisture rather than a problem with the epoxy product itself.
Can epoxy be installed over an existing coating? It depends on the condition of the existing coating. In many cases, it needs to be mechanically removed first so the new epoxy can properly bond to the concrete underneath.
A successful garage floor epoxy installation depends on far more than the coating itself. Assessment, preparation, repair, and proper curing all play a role in how the finished floor looks and how long it lasts. Understanding what the process involves makes it easier to set realistic expectations and recognize the difference between a quality installation and a rushed one. If you're in Upstate Epoxy Floors' New York service area and want a clear picture of what a professional installation would involve for your garage, reaching out for an assessment is a straightforward next step.